
To check your DNS records, you have a few options up your sleeve. You can pop open a command-line tool like dig or nslookup for a quick, raw look, use a friendly online checker, or simply log into your domain registrar's control panel. Each method pulls back the curtain on how your domain is configured, showing you exactly where your website is hosted and how your email gets delivered.
Why You Need to Check DNS Records
Before we get into the nuts and bolts, let's talk about why this is such a critical skill for anyone with a website. Think of DNS as the internet's phone book. When someone types your domain into a browser, DNS is what translates that easy-to-remember name into a machine-friendly IP address, pointing them to the right server on the web.
Knowing how to look up these records lets you troubleshoot and confirm that your online services are set up correctly. This isn't just for developers—it's essential for anyone launching a portfolio, setting up a custom email address, or managing a website for a client.
Real-World Scenarios
You'll find yourself needing to verify your DNS setup in a bunch of common situations. For example, you might need to check your records to:
- Launch a new website: You have to make sure your custom domain actually points to your web host. Many services that offer free static site hosting, for instance, will require you to add specific A or CNAME records.
- Set up professional email: To get your email working, you’ll need to add MX records that tell the internet where to send your mail, whether it's Google Workspace or Microsoft 365.
- Verify domain ownership: Services like Google Search Console or even some social media platforms often ask you to add a unique TXT record. This is their way of making you prove you actually own the domain.
- Troubleshoot site downtime: If your site suddenly goes offline, one of the very first places you should look is your DNS. An accidental change or an expired record could be the culprit.
Being able to check your own DNS means you can spot misconfigurations before they turn into lost traffic, bounced emails, or a completely broken website. It’s often the difference between a smooth launch and a day spent on the phone with tech support.
The Growing Importance of DNS
A reliable DNS is the foundation of the modern internet. It’s the unsung hero that works silently in the background, making everything from automatic SSL certificates to instant subdomains possible.
This reliance is a big reason why the global DNS service market, valued at $280.479 million in 2021, is projected to skyrocket to $2,199.03 million by 2033. That's a compound annual growth rate (CAGR) of 18.721%. This boom just goes to show how essential proper DNS management has become for millions of websites and applications. You can dig deeper into the DNS service market growth to see the full picture.
Using the Command Line to Show DNS Records
For those of us comfortable in a terminal, the command line is easily the fastest and most powerful way to check DNS records. It skips the fancy interfaces and gives you the raw, unfiltered data straight from the source. This is the go-to method for developers, sysadmins, or anyone who needs a quick answer without clicking through a website.
These tools are almost always built right into your operating system, so there's nothing to install. They're lightning-fast and provide a level of detail that many online checkers simplify or hide completely. That direct access is invaluable when you're trying to nail down specific record values or troubleshoot why your changes haven't appeared yet.
This whole process is about making sure your domain name connects to the right server on the internet, which is what brings your website to life.

As you can see, checking the DNS is the fundamental step to confirm that everything is pointing where it should.
Using Dig on macOS and Linux
If you're on a Mac or a Linux machine, the dig command (short for Domain Information Groper) is your best friend. It’s a favorite among technical folks because its output is incredibly detailed and surprisingly easy to read once you get the hang of it.
Just pop open your Terminal to get started. The basic dig command is simple enough, but its real power comes from being able to ask for specific record types. For example, if you're trying to figure out where your website is hosted, you'll want to look at the A record. Or, if you're setting up a custom domain with a service like Hostmora, you’ll probably need to verify a CNAME record.
Here are a few common use cases for dig:
- Checking A Records: Finds the core IP address your domain points to.
- Inspecting MX Records: Absolutely essential for figuring out email delivery issues.
- Verifying TXT Records: Often required to prove you own a domain for services like Google Workspace or Microsoft 365.
- Looking Up NS Records: Shows you which nameservers are officially in charge of your domain.
The output from dig also gives you the TTL (Time To Live). This is a number in seconds that tells DNS servers how long to "remember" or cache the record. A short TTL is great when you've just made a change and want it to show up quickly.
Using Nslookup on Windows
For Windows users, nslookup has been the trusty command-line tool for DNS queries for decades. While it's a bit less verbose than dig by default, it’s perfectly capable of handling any diagnostic task you throw at it.
You can run nslookup right from the Command Prompt or PowerShell. I find its interactive mode especially handy for making several queries in a row. Just type nslookup and hit Enter to start. From there, you can tell it what kind of record you're looking for before typing in the domain.
Pro Tip: Once you're in the interactive
nslookupmode, you can switch record types without starting over. Just typeset type=mxto look for mail records, orset type=txtfor text records. It’s a huge time-saver.
Using Resolve-DnsName in PowerShell
If you spend your time in the more modern Windows PowerShell environment, you should check out Resolve-DnsName. It's a much more structured and script-friendly alternative to the classic nslookup. Its output comes back as neat objects, which is a dream for anyone looking to automate DNS checks or build them into larger scripts.
The syntax is clean and easy to understand. You simply specify the domain with the -Name parameter and the record type with -Type. This clarity makes it a fantastic choice for getting predictable, easy-to-read results for your A, CNAME, or MX records on any Windows system.
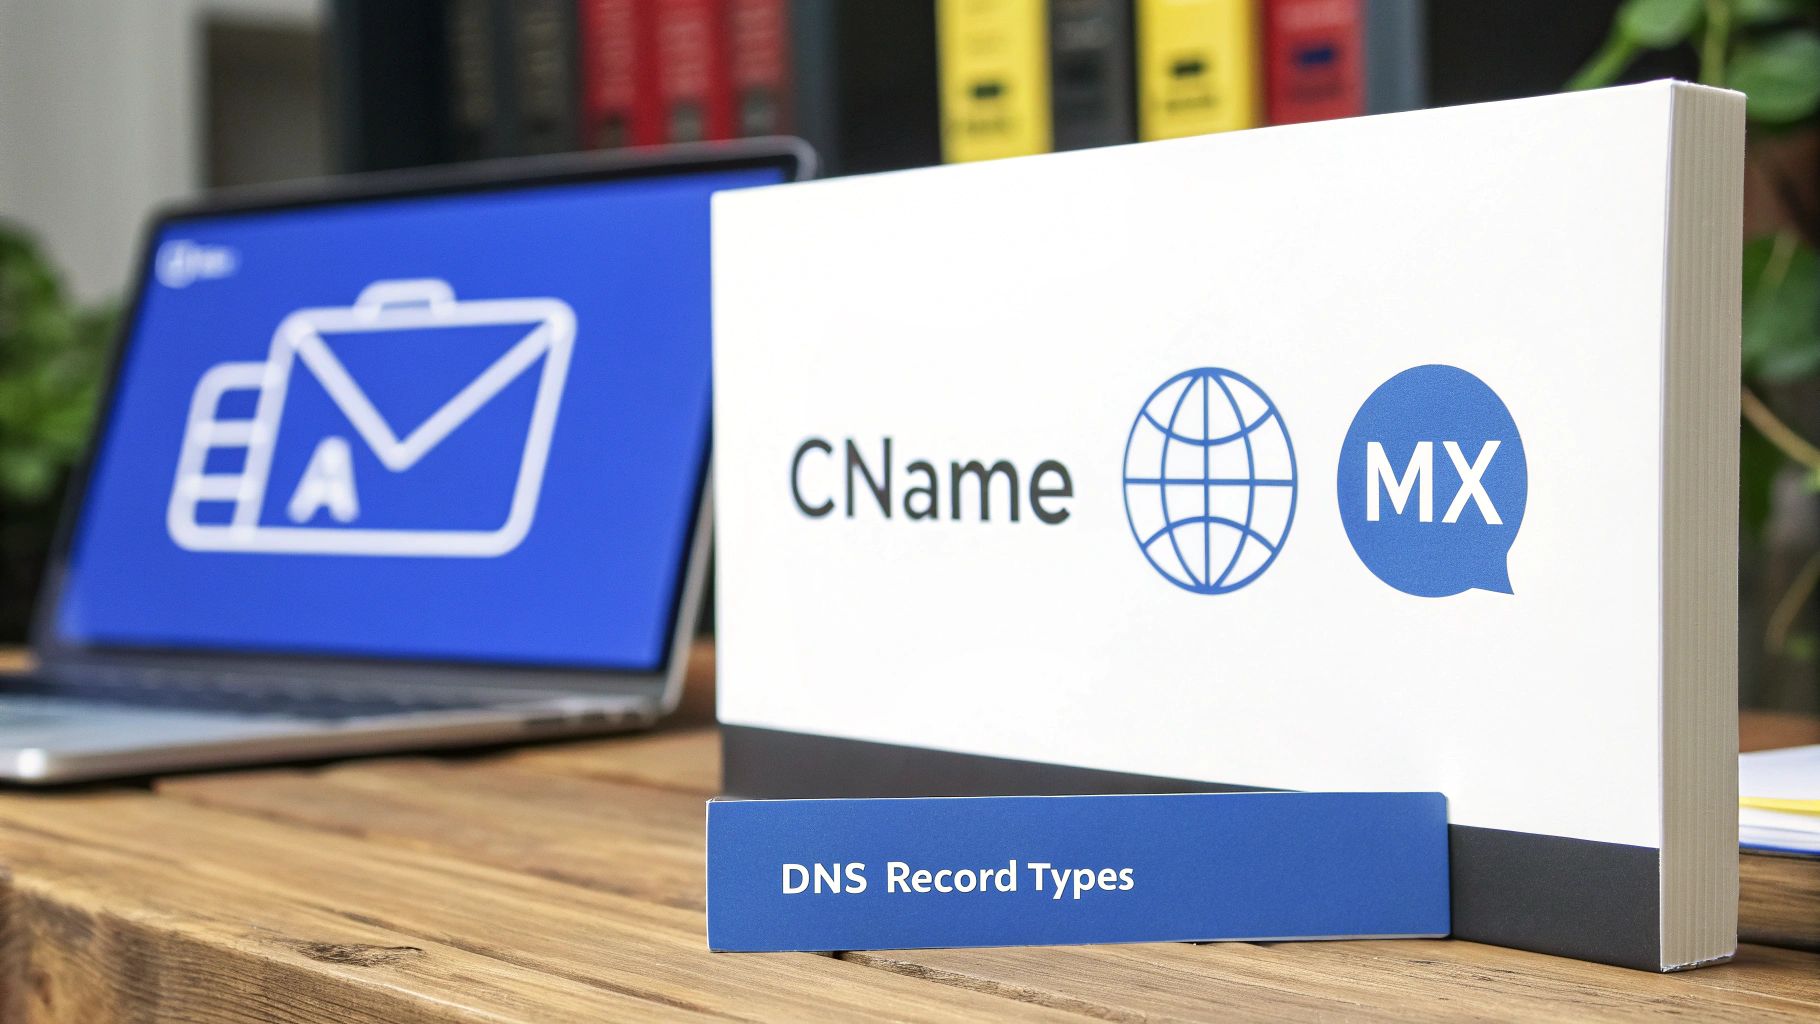
What Do All These DNS Records Mean?
So, you've run a DNS lookup and now you're staring at a wall of acronyms. Don't worry, it's not as complex as it looks. Think of each DNS record as a specific instruction telling internet traffic where to go. One points browsers to your website, another directs your email, and so on. Getting these instructions right is the key to a healthy, functioning domain.
Think of your domain as a central office building. Each record type is like a directory entry pointing visitors to the right department—the A record sends people to the main reception (your website), while the MX record sends mail to the mailroom.
To make things clearer, here's a quick reference table breaking down the most common records you'll encounter.
Common DNS Records and Their Purpose
| Record Type | Full Name | Primary Function | Hostmora Use Case Example |
|---|---|---|---|
| A | Address | Points a domain or subdomain to an IPv4 address. | Pointing yourdomain.com to your Hostmora server's IP. |
| AAAA | IPv6 Address | Points a domain or subdomain to an IPv6 address. | The modern equivalent of the A record for newer networks. |
| CNAME | Canonical Name | Creates an alias, pointing one domain name to another. | Pointing blog.yourdomain.com to a separate blogging platform. |
| MX | Mail Exchanger | Directs email to the correct mail servers. | Configuring your domain to use Hostmora's email service. |
| TXT | Text | Provides text information for external sources. | Verifying domain ownership with Google or Microsoft 365. |
| NS | Name Server | Delegates a domain or subdomain to a set of name servers. | Telling the internet that Hostmora manages your DNS records. |
This table covers the essentials, but let's dive a little deeper into what each one actually does.
A and AAAA Records: Your Website's Address
The A record (Address record) is the most basic and vital piece of the puzzle. It connects your domain name, like yourdomain.com, to the server's numerical IPv4 address. Its modern counterpart is the AAAA record, which does the exact same job but for the newer IPv6 address format.
Simply put, without a correct A record, browsers have no idea where to find your website. It's the primary "address on file" for your domain on the internet.
CNAME Records: The Alias
A CNAME (Canonical Name) record acts as an alias. Instead of pointing a name to an IP address, it points a name to another name. This is incredibly handy for subdomains.
For example, you could point shop.yourdomain.com to a third-party e-commerce platform's address, like shops.shopify.com. If that platform ever changes its IP address, they just update their own record, and yours automatically follows along. No manual changes needed on your end.
Quick Tip: A CNAME record can't typically be used on a root domain (e.g.,
yourdomain.comitself) if other records like MX records also exist. They are best reserved for subdomains.
MX Records: The Mail Carrier
MX (Mail Exchanger) records are all about email. They tell the world’s mail servers where to deliver messages sent to your domain. When someone sends an email to hello@yourdomain.com, their server performs an MX lookup to find the right destination.
We have a whole guide dedicated to helping you find and verify your MX records if you need to troubleshoot email delivery.
TXT and NS Records: Verification and Authority
Finally, two other records you'll often see are TXT and NS.
TXT Record: A Text record is a simple, flexible record that holds plain text. Its most popular job is domain verification. Services like Google Workspace or an SSL provider might ask you to add a specific TXT record to prove you own the domain before they'll activate services.
NS Record: The Name Server record declares which servers are the official, or "authoritative," source for your domain's DNS information. These are the servers that hold all your other records.
Correctly configured DNS records are the invisible force that makes a custom domain work. With over 368 million registered domains globally, understanding these fundamentals is a crucial skill for anyone managing a web presence. For more context, you can explore some of the latest domain registration statistics.
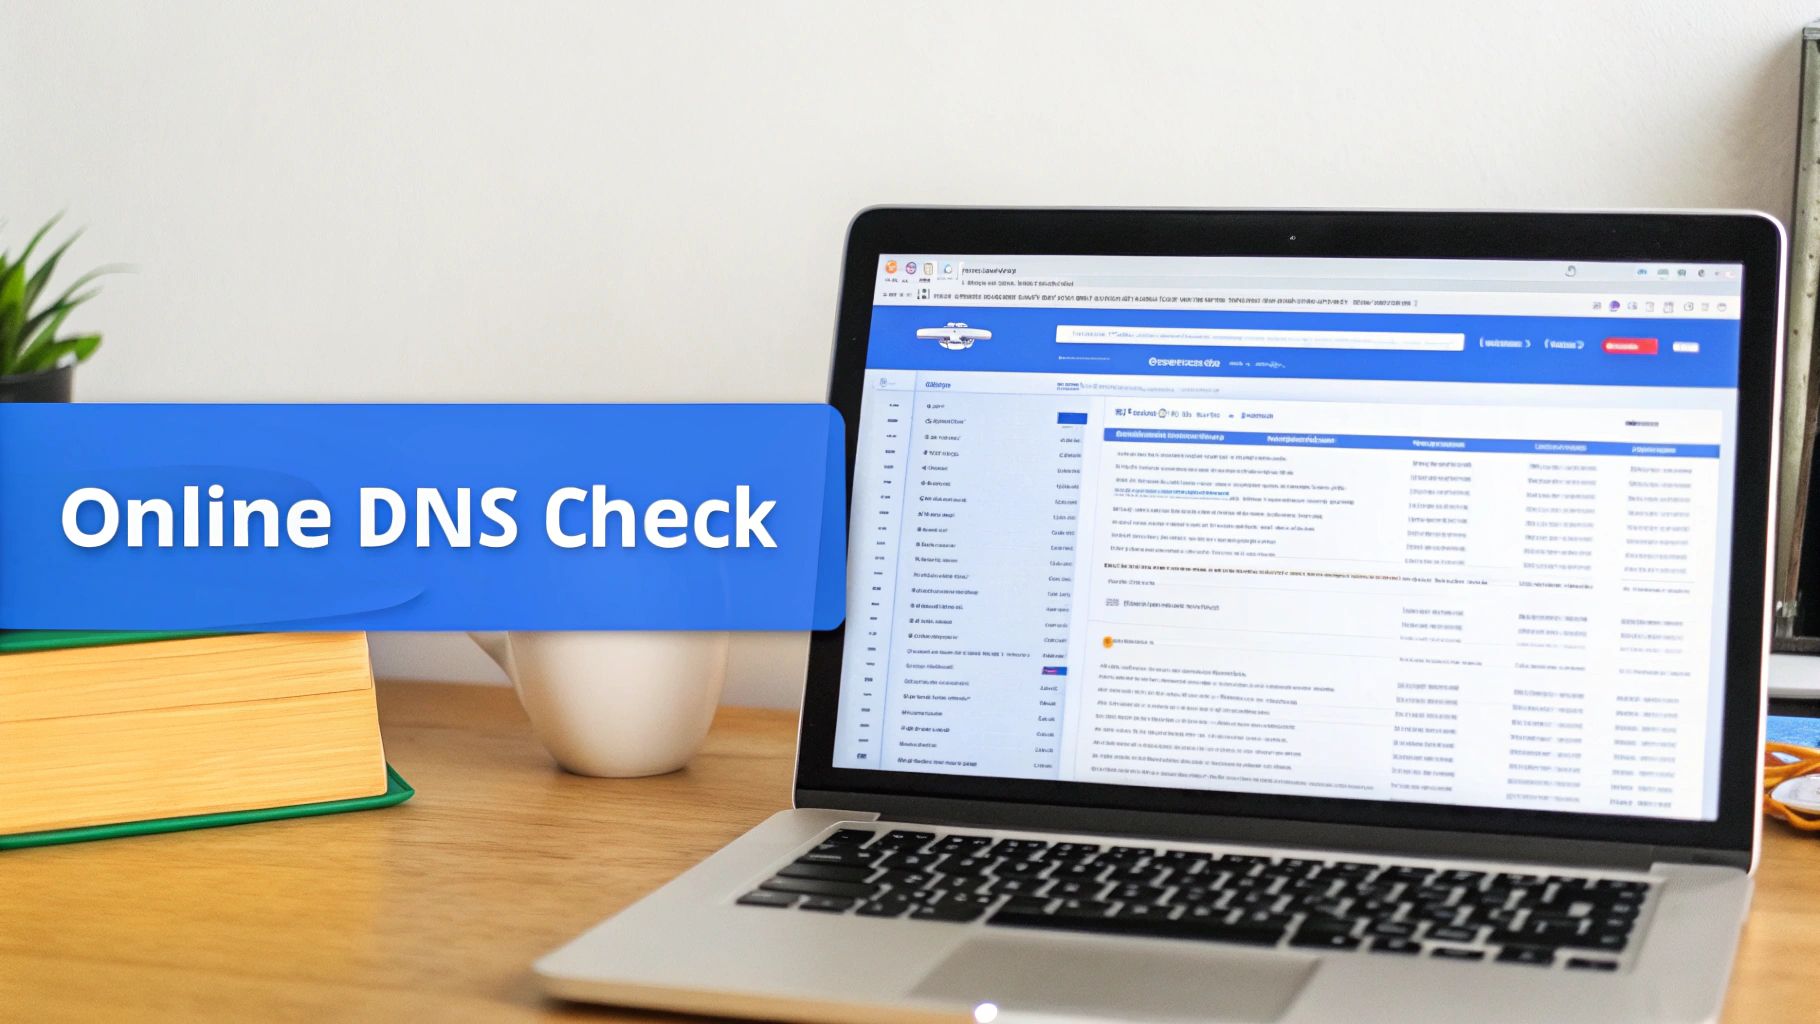
Don't Like the Command Line? Use an Online Tool Instead
If digging around in a terminal isn't your cup of tea, you're not alone. Thankfully, a whole ecosystem of web-based tools has popped up to help you show DNS records without touching a single command. These online checkers are my go-to for a quick, clear snapshot of a domain's setup.
Their main selling point is simplicity. Instead of deciphering command-line text, you get a clean, organized, and often color-coded view of your domain's records. It’s perfect for anyone who just needs to confirm a setting without getting bogged down in technical jargon.
Global DNS Checkers: See Your Records from Around the World
A handful of fantastic, free websites do this really well. I personally use tools like DNSChecker.org and whatsmydns.net all the time. What makes them so powerful is that they don’t just query one server; they check your DNS records from dozens of locations across the globe. This is incredibly useful for watching DNS propagation in real-time.
Getting started is as easy as it sounds:
- Head over to one of the websites.
- Pop your domain name into the search field.
- Pick the record type you're interested in (like A, CNAME, or MX).
- Hit search.
The results page will show you what different servers worldwide are reporting. If you just made a change, you’ll likely see a mix of old and new values. Don't panic! That’s just propagation in action, and it’s a great visual confirmation that your updates are rolling out.
Your Domain Registrar’s Control Panel: The Source of Truth
The other no-code method is to go straight to the source: your domain registrar. Whether your domain is with GoDaddy, Namecheap, or any other provider, your DNS records live inside your account dashboard. This is where you not only view the records but also edit them.
Finding this section is usually pretty straightforward. Log in to your account and look for something called "DNS Management," "Manage DNS," or "Advanced DNS." Once you click in, you'll see a neat table listing all the records currently configured for your domain.
My Pro Tip: Think of your registrar's panel as the intended configuration—what you want the world to see. A global DNS checker shows you what the world actually sees at that moment. The two should eventually match, but if they don't, it usually points to a propagation delay or a misconfiguration.
What if My Registrar and a Checker Disagree?
This is a classic "it's not working!" moment. You've updated a record in your control panel, but an online tool still shows the old value. It's a super common point of confusion that often sends people on a wild goose chase.
Here are the usual suspects for this kind of discrepancy:
- Propagation Delays: DNS changes aren't instant. It takes time for them to spread across the internet, a process dictated by the TTL (Time to Live) value of your records.
- Conflicting Records: Sometimes, default records set by your registrar can clash with the new ones you're trying to add. A common one I see is a default A record getting in the way of a CNAME record for the "www" subdomain.
- Third-Party DNS Hosting: This is the big one. If you use a service like Cloudflare, your nameservers are pointed away from your registrar. In that case, any DNS changes you make at the registrar will be completely ignored. You must manage your records where your nameservers are pointed.
By using your registrar's panel and a global checker together, you get the full story. It helps you diagnose issues with much more confidence and figure out where the problem really lies.
How to Troubleshoot Common DNS Issues
So, you’ve checked your DNS settings, but what you’re seeing isn't what you expected. Or maybe your website is just completely down. This is a classic DNS troubleshooting scenario, and more often than not, the culprit is something called DNS propagation.
When you update a DNS record, that change doesn't happen instantly across the globe. DNS servers everywhere keep a temporary copy, or cache, of your old records until their TTL (Time To Live) expires. If your record's TTL is set to 3600 seconds (one hour), it could genuinely take that long for the new record to show up everywhere. Your first tool here is simply patience.
Your Troubleshooting Checklist
When things aren't working, it’s tempting to start changing settings randomly, but a methodical approach will save you a world of headaches. Running through a quick diagnostic checklist can help you zero in on the problem fast.
Here’s where I always start:
- Hunt for Typos: It sounds basic, but a single misplaced letter or number in a record's value can bring everything to a halt. Meticulously double-check that you've copied the values exactly as they were provided by your hosting service or email provider.
- Look for Conflicting Records: Certain DNS records just can't coexist. A common example is having a CNAME record on your root domain alongside other records like MX or TXT. Many registrars create default records that might be silently conflicting with the new ones you're trying to add.
- Confirm Your Nameservers: Where are your nameservers actually pointing? To your domain registrar, or to a third-party service like Cloudflare? You must manage your DNS records wherever your nameservers are pointed. If you're making changes at your registrar but your domain is using Cloudflare's nameservers, those changes will do absolutely nothing.
The Security Angle of DNS Records
Knowing how to show DNS records is about more than just getting your website online; it’s a crucial security practice. In a single quarter of 2025, over 25.7 million new domains were registered, and unfortunately, a significant portion of those are flagged as malicious. You can get a sense of the scale by looking at the latest global domain activity trends.
Verifying your own TXT records for SPF and DKIM, for example, is essential for securing your email and preventing others from spoofing your domain. It’s a proactive step to protect your reputation.
At Hostmora, we handle the technical side with automatic SSL and privacy-first features, but understanding your DNS puts you in control. It empowers you to verify that everything from your custom domain to your email security is configured correctly.
This hands-on approach ensures your online presence is not just live but also secure. For more detailed guides on configuring your domain with our platform, check out our comprehensive Hostmora documentation.
Frequently Asked Questions About DNS Records
Once you get the hang of checking DNS records, a few common questions always seem to surface. Sorting these out early can save you a ton of headaches, especially when you’re staring at your screen wondering why a change you just made isn't showing up yet. Let's tackle some of the most common ones.
How Long Does It Take for DNS Records to Update?
This is the big one. The short answer? It depends on something called TTL (Time To Live).
Every DNS record has a TTL value, which is basically an expiration date measured in seconds. It tells DNS servers across the internet how long they should "cache," or remember, that record before checking for a new version. A typical TTL is 3600 seconds, which is one hour.
So, even after you hit "save" on a new record, servers worldwide might hang on to the old information for up to an hour. This gradual global update is what we call DNS propagation. While it can sometimes take up to 48 hours to fully propagate everywhere, you'll often see changes much sooner. A little patience goes a long way.
Can I Have Multiple A Records for One Domain?
Absolutely, and it's a common strategy for big sites. When you assign multiple A records to the same domain name, each pointing to a different server IP, you're setting up a simple form of load balancing. This helps spread visitor traffic across several servers so no single machine gets overwhelmed.
For most of us running a standard website on a single hosting plan, however, one A record for the root domain is all you need. In fact, adding extra A records without a specific load-balancing setup can cause some seriously weird issues, like your site loading from different places unpredictably or not at all. It's best to stick to the configuration your hosting provider recommends.
Key Takeaway: An A record maps a name directly to an IP address (a number). A CNAME record is an alias that maps a name to another name. You can't use a CNAME on a root domain if other records, like MX for email, also exist there.
What Is the Difference Between a CNAME and an A Record?
Let's break it down with a simple analogy.
An A record is like giving someone the direct street address for a house. yourdomain.com points straight to the server's IP address, 192.0.2.1. It's a direct, unambiguous link.
A CNAME (Canonical Name) record, on the other hand, is like telling someone, "Go find Bob's house." The name blog.yourdomain.com points to another name, like sites.hostingprovider.com. This is incredibly useful when you're using third-party services for things like a blog or a helpdesk. The service can change their server's IP address whenever they need to, and your CNAME will still point to the right place without you having to lift a finger.
Ready to turn your files into live websites without the DNS headaches? Hostmora makes it happen in seconds. With instant subdomains, automatic SSL, and a global edge network, you can drag, drop, and publish. Experience the #1 easiest web publishing tool today at Hostmora.