
Beginner's Guide to a Free Portfolio Website
If you're a student, recent graduate, or anyone starting out in a creative field, you've probably heard that you need a portfolio website. And then you probably thought, "Great, another thing I don't know how to do and probably can't afford."
Here's the good news: building a portfolio website as a complete beginner is not only possible, it's actually pretty straightforward. And yes, you can do it for free while still looking professional.
I'm going to walk you through exactly how to create a portfolio that showcases your work without requiring design skills, coding knowledge, or a budget.
Why You Need a Portfolio (Even as a Beginner)
Let's address this first. You might think, "But I'm just starting out, I don't have enough work to show." That's totally normal, and here's what most people don't tell you: everyone starts somewhere.
A portfolio website serves a few important purposes:
It shows you're serious. Having a website, even a simple one, signals that you're professional and take your work seriously.
It gives you a home base. Instead of directing people to five different social media accounts, you have one place where everything lives.
It lets you control the narrative. On your own site, you choose what to highlight and how to present it.
It's easier to share. One link in an email or on a resume is simpler than asking people to hunt through your Instagram.
And here's the thing about being a beginner: your portfolio doesn't need to be perfect. It needs to exist and show what you're capable of right now. You can always update it as you improve.
What to Include in Your First Portfolio
As a beginner, your portfolio should be simple and focused. Here's what you actually need:
Your Best 3-6 Projects
Quality over quantity, always. It's better to show three strong projects than six mediocre ones. Even if these are school assignments, personal projects, or work you did for friends, that's totally fine.
For each project, include:
- A title
- 1-3 images that show the work clearly
- A brief description (2-3 sentences about what it is and what you did)
That's it. Don't overthink the descriptions. "Logo design for a local coffee shop" or "Poster series for a school project" is perfectly adequate.
A Short About Section
This doesn't need to be your life story. A few sentences covering:
- What kind of work you do (graphic design, photography, writing, etc.)
- What you're interested in or focusing on
- Your current status (student, recent grad, aspiring [your field])
- Maybe one personal detail that makes you relatable
Example: "I'm a graphic design student at State University with a passion for bold typography and minimalist layouts. I love creating visual identities for small businesses and nonprofits. When I'm not designing, I'm probably at a concert or experimenting with film photography."
Contact Information
Make it easy for people to reach you. Include:
- Your email (absolutely essential)
- LinkedIn profile (if you have one)
- Instagram (if relevant to your work)
You don't need a contact form (those can be complicated). A simple email address works perfectly fine.
Choosing Where to Build Your Portfolio
The biggest question is which platform to use. For a free portfolio, you have several solid options:
Wix or Weebly - Both have free plans with portfolio templates. Easy drag-and-drop interfaces. The catch is you'll have their branding in your URL (like yourname.wixsite.com) and on your site.
Cargo or Adobe Portfolio - Designed specifically for portfolios. Clean, minimalist templates. Adobe Portfolio is free if you have any Adobe Creative Cloud subscription.
WordPress.com - More complex but very flexible. Free plan available with limitations.
Behance - If you're in design or creative fields, you can actually use your Behance profile as a simple portfolio. It's not technically a website, but it works.
For most beginners, I'd recommend starting with Wix or Cargo. They're specifically designed to be simple, and the templates are already set up for showcasing visual work.
Building Your Portfolio: Step by Step
Here's the actual process, broken down so it's not overwhelming:
Step 1: Pick a Template
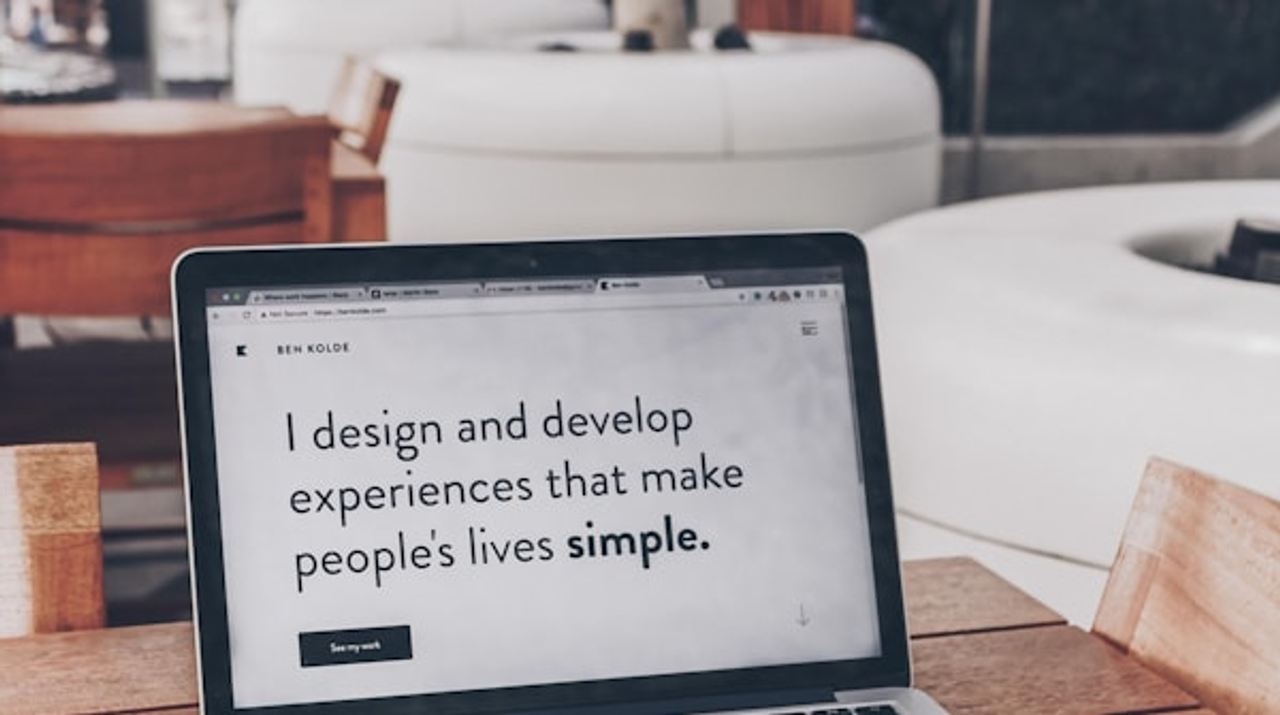
Choose the simplest template you can find. Look for words like "minimal," "clean," or "simple" in the template name. Avoid templates with lots of animations or complex layouts.
You want something that puts your work front and center without distraction. A white or light background with clear navigation is perfect.
Step 2: Start With Your Work
Don't start with the About page. Start by adding your projects. This is the core of your portfolio, and filling this section in will make everything else feel easier.
Upload your project images. Most platforms will ask you to upload images and then arrange them. Make sure your images are good quality but not so huge that they take forever to load.
Add your project titles and descriptions. Keep descriptions short and clear. You're not writing essays.
Step 3: Write Your About Section
Now that your work is up, write your About section. This is easier to do after you've looked at your projects because you can see what themes or interests naturally emerge.
Remember: short and genuine beats long and formal. Write like you're introducing yourself to someone at a networking event, not writing a resume.
Step 4: Add Your Contact Info
This should be obvious and easy to find. Most templates have a dedicated contact section. Fill it in with your email and any social links you want to include.
Test your email link to make sure it works,click it and see if it opens your email program.
Step 5: Review and Adjust
Look at your portfolio as a whole. Does the work show clearly? Is it easy to navigate? Can you read all the text?
Preview it on your phone too. Lots of people will look at your portfolio on mobile, so make sure it doesn't look broken on a small screen.
Design Tips When You're Not a Designer
Even if you're in a creative field, you might not be a designer, and that's okay. These simple guidelines will keep your portfolio looking clean and professional:
Use the template's default fonts and colors. Template designers are actual designers. They chose fonts and colors that work well together. Unless you have strong opinions, just stick with their choices.
Keep your background simple. White or light gray backgrounds are classic for a reason,they let your work stand out.
Make sure your images are high quality. Blurry, pixelated images make everything look unprofessional. Take the time to upload clear, well-lit photos of your work.
Don't use too many different fonts or colors. One or two fonts is plenty. Stick to a simple color scheme.
Leave white space. Don't pack everything tightly together. Space makes things easier to read and looks more professional.
Common Beginner Mistakes to Avoid
Having helped dozens of students build their first portfolios, here are the issues I see most often:
Showing too much work. Your portfolio is not a museum of everything you've ever made. Show only your best work.
Overthinking the About section. Don't write three paragraphs. A few sentences is perfect.
Using only school projects and apologizing for it. It's fine to show school work. Don't add disclaimers like "I know this is just a class project but..." Just present it as work you've done.
Making navigation confusing. Keep it simple: Home, Projects (or Work), About, Contact. That's all you need.
Forgetting to test on mobile. Always check how your site looks on a phone before considering it done.
Not including contact information. This seems obvious but happens surprisingly often. Make sure there's a clear way for people to reach you.
What If You Don't Have Much Work Yet?
This is a super common concern, and it's not as big a problem as you think. Here are some solutions:
Show school projects. These absolutely count as portfolio pieces. Present them professionally and they work just fine.
Create personal projects. Design a poster series for fun. Photograph something you're interested in. Write a few sample pieces. These are legitimate portfolio content.
Redesign existing things. Take a brand you like and create a theoretical rebrand. Design an album cover for your favorite musician. This shows your skills and creativity.
Quality over quantity. Three great pieces are infinitely better than ten mediocre ones. If you only have three strong projects, show those three.
The Free vs. Paid Question
You can absolutely start with a free portfolio. The main limitations of free plans are usually:
- Your URL will include the platform name (yourname.wixsite.com)
- You might have small ads or branding from the platform
- Storage limits for images
- Fewer template options
For a first portfolio, these limitations are totally acceptable. You can always upgrade to a paid plan later when you want your own domain (yourname.com) or need more features.
The paid plans usually run $5-15 per month, which is reasonable once you're more established. But when you're just starting? Free works fine.
Launching Your Portfolio
Once everything looks good, publish your site. Then add that URL everywhere:
- Your resume
- Your email signature
- Your LinkedIn profile
- Your social media bios
- Business cards if you have them
Every time you apply for a job, internship, or opportunity, include your portfolio URL. Make it easy for people to see your work.
Keeping Your Portfolio Updated
Here's a secret: your portfolio doesn't need constant updates. But do plan to update it:
- When you complete a significant new project
- When you want to remove older work that no longer represents your skill level
- If your contact information changes
- Maybe once or twice a year to keep it fresh
This isn't a blog that needs weekly posts. It's a portfolio that should represent your current abilities.
You Can Do This
Building your first portfolio feels daunting, but it's genuinely not as complicated as it seems. Thousands of students and beginners have done exactly what I've outlined here and ended up with professional-looking portfolios.
The key is keeping it simple. You don't need fancy animations, custom designs, or complex navigation. You need clear images of your work, a short description of who you are, and a way for people to contact you.
Pick a platform, choose a simple template, upload your best work, write a few sentences about yourself, and publish. You can do this in an afternoon.
Your portfolio doesn't need to be perfect. It needs to exist. You can refine it over time as you gain more experience and create more work. But the version you create today, even as a beginner with limited work to show, is infinitely better than no portfolio at all.
Start simple. You've got this.
More Helpful Guides
- New to building websites? Read our 10-minute website creation guide first
- Need a resume site too? Learn how to create an online CV page
- Just need something simple? Try our personal page with social links guide