

It usually starts with a nagging feeling. Your npm install takes just a bit longer than it used to, or you notice your hard drive is mysteriously filling up. More often than not, the silent culprit is the npm cache—a feature built for speed that can slowly turn into a multi-gigabyte problem.
Let's dig into exactly why this happens.
Why Your NPM Cache Is Secretly Eating Your Disk Space
At its heart, the npm cache is a brilliant performance booster. It keeps a local copy of every package you've ever downloaded. The next time you need that same package for a different project, npm just grabs it from the cache instead of pulling it from the network again. This makes installations way faster, but it comes with a hidden trade-off.
The modern npm caching engine, called ‘cacache,’ is designed for speed and data integrity above all else. It works as a content-addressable storage system, which is a fancy way of saying it’s built to never delete old or unused package versions on its own. Every time you install a different version of a package, both the new one and the old one stick around in the cache.
The Never-Ending Accumulation
For any active developer, this accumulation is inevitable. Over months and years of work, the cache directory can quietly swell to an astonishing size, hogging precious disk space.
Think about a typical workflow:
- Project Hopping: You jump between different client projects, freelance gigs, and open-source contributions. Each one brings its own unique set of package versions into your cache.
- Frequent Updates: Constantly running
npm updateor grabbing the latest version of a framework? That just adds more and more data without ever removing what's outdated. - Dependency Trees: A single package like React or Express can pull in hundreds of its own dependencies. Every single one of them gets a permanent spot in your cache.
This slow, creeping growth is why so many developers are shocked when they finally inspect their ~/.npm folder and find it's one of the biggest directories on their entire system. In one particularly striking case documented on dev.to, a developer found their ~/.npm/_cacache directory was taking up a massive 20GB. Even after running a verification command, it only shrank to 17GB. It took a full npm cache clean --force to finally reclaim that space.
The npm cache's philosophy is "store everything, delete nothing." While this guarantees package integrity and speeds up re-installs, it makes periodic cleanup a non-negotiable part of a developer's workflow.
For developers managing complex builds and CI/CD pipelines, optimizing every part of the workflow is non-negotiable. Getting a handle on tools like the npm cache is a key piece of maintaining a fast and efficient setup. You can explore more resources for developers who are focused on building high-performance, scalable web projects.
The Smart Way to Clear Your NPM Cache
Before you go nuclear on your npm cache, let's talk about a smarter workflow. It’s easy to jump straight to the most aggressive command, but think of this more like a routine check-up for your development environment. A gentler approach often solves the problem without slowing you down later.
Start with a Simple Verification
Your first line of defense should always be the verify command. It’s the least disruptive way to tackle potential cache problems, and honestly, it fixes most issues.
npm cache verify
Think of this command as a health check for your cache. It scans the entire directory, hunts down any corrupted or incomplete package data, and gets rid of it. As a bonus, it also recompresses the cache content, which can free up a little bit of disk space.
Once it's done, you'll get a neat summary of the total packages and any reclaimed content. It's a quick way to get peace of mind that your cache is in good shape.
When You Need to Bring Out the Big Guns
Sometimes, a simple verification just doesn't cut it. You might be dealing with a really stubborn installation error that won't go away even after nuking node_modules. Or maybe you're just running low on disk space and need to reclaim a significant chunk. That's when it's time to bring out the heavy machinery.
This is where you clear the npm cache completely using the --force flag.
npm cache clean --force
If you've been around for a while, you might remember just running npm cache clean. Newer versions of npm made this a bit more deliberate by requiring the --force flag. It’s a smart safeguard, really. It prevents developers from accidentally wiping their cache, which would make the next install a lot slower.
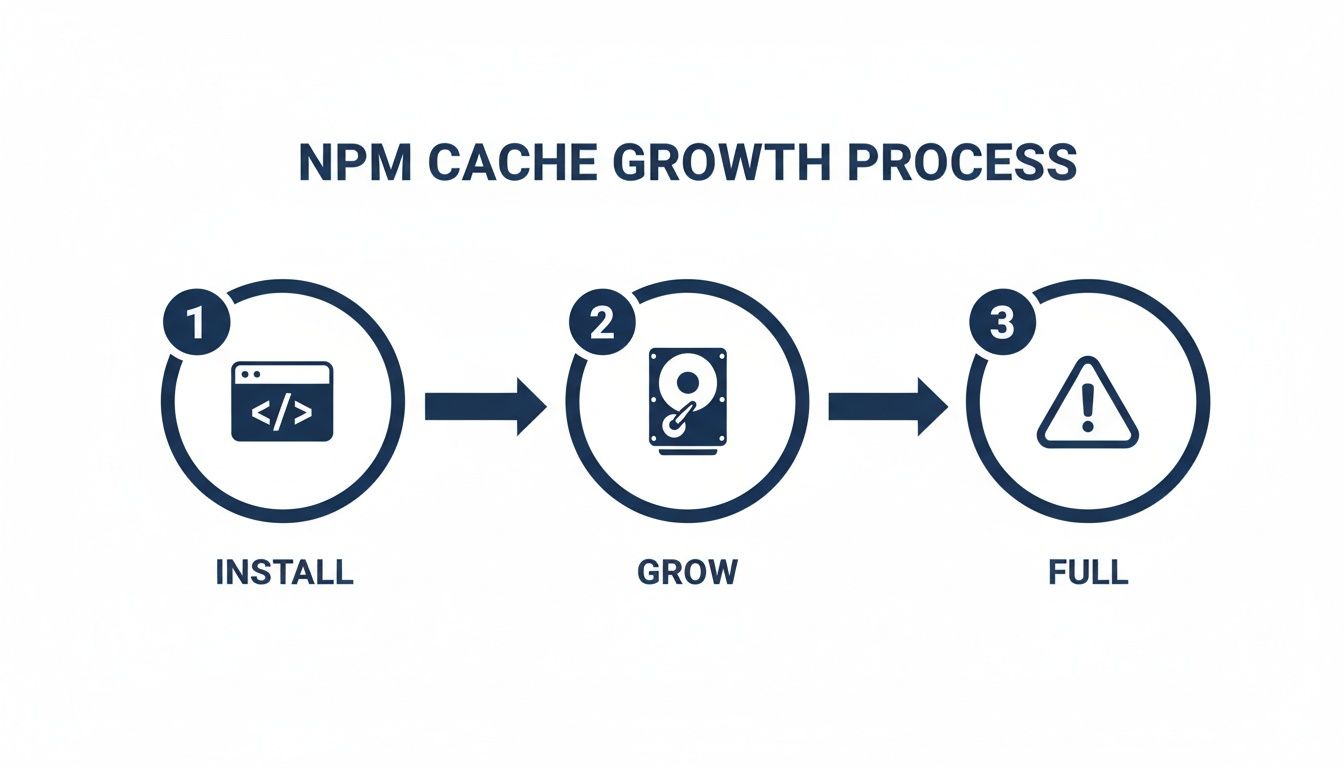
The infographic below shows just how fast that cache can balloon with every project you work on, making these cleanup commands a necessary part of a developer's toolkit.
As you can see, every npm install adds to the pile, and eventually, it needs a little tidying up. Keep in mind that after a full clean, your very next installation will be slower since everything has to be downloaded from the registry again. But after that, things will be speedy as usual. For developers working with static sites where build times are everything, managing this workflow is key. It pairs nicely with finding efficient hosting, and there are some great options for free static site hosting out there.
My Two Cents: Always start with
npm cache verifyfor routine check-ups. It's fast and safe. Only escalate tonpm cache clean --forcewhen you're truly stuck with a weird dependency issue or your hard drive is screaming for space. This tiered approach will save you time and a lot of unnecessary downloading.
Finding Your NPM Cache on Any Operating System
Ever tried to find your npm cache folder manually? It can feel like a bit of a treasure hunt, especially since the location isn't the same across every system. Thankfully, there's one simple command that works everywhere and cuts right through the noise.

Instead of poking around in hidden folders, just pop open your terminal and run this:
npm config get cache
This command instantly spits out the exact, absolute path to your cache directory. It’s by far the most reliable method because it respects any custom configurations you might have set up and forgotten about.
Default Cache Paths by OS
While the command is your best bet, it's still useful to know the standard locations where npm stashes its cache. If you haven't changed anything, you'll likely find it here:
- Windows:
%AppData%\npm-cache(This usually expands toC:\Users\<Your-Username>\AppData\Roaming\npm-cache) - macOS / Linux:
~/.npm(A hidden directory right in your user's home folder)
Again, always trust the output of npm config get cache over memory. It’s the definitive source of truth for your specific setup.
Pro-Tip: Did you know you can move your npm cache? This is a great trick if you want to shift the disk activity to a faster SSD or just keep your main drive a little cleaner.
Relocating the cache is surprisingly easy. You just need to tell npm where you want it to live from now on. For instance, to move it to a folder on another drive, you’d run:
npm config set cache D:\dev-tools\npm-cache
This small adjustment can give your installs a nice little performance boost and helps keep your development environment tidy. It also makes it even easier to find when you need to clear the npm cache.
How NPM Caching Works Under the Hood
To understand why you even need to clear the npm cache, it really helps to look at how it's designed. Npm’s whole caching system is built for speed, but that same design can lead to it slowly eating up your disk space. It’s a smart, two-tiered strategy that tries to balance performance with getting you the latest code.
First, you have the package metadata—those little JSON files with version details and dependency lists. Npm is aggressive about keeping this stuff fresh, caching it for only five minutes. This short lifespan means when you run npm install, you’re almost always pulling the most up-to-date information on available packages.
On the other hand, the actual package contents—the tarball files with all the code—are cached for an entire year. Npm uses HTTP headers like ETag to ask the server, "Has this changed?" If the answer is no, the server sends back a quick "304 Not Modified" response, and npm just uses the copy it already has. This saves a ton of time and bandwidth.
This dual approach is exactly why the cache can get so big over time. The metadata is constantly being refreshed, while the old package tarballs can stick around for a very long time. For more on this, you can find great insights into npm's caching behavior on Devzery.
The Role of Cacache and Data Integrity
Modern versions of npm rely on a tough little library called ‘cacache’. It’s incredibly resilient because it’s built on content-addressable storage. This just means that every piece of data is stored and found using a key based on a cryptographic hash of its own contents.
This system also uses Subresource Integrity (SRI) to make sure the data is what it claims to be. When a package is downloaded, npm calculates its integrity hash and checks it against the value in your package-lock.json file. If they don't match, something is wrong.
This integrity-first approach makes the cache self-healing. If a file gets corrupted,
npm cache verifywill spot the mismatch, ditch the bad data, and automatically grab a fresh copy the next time you need it.
This robust verification is what makes the cache so reliable. It also means npm rarely has a reason to throw out old data on its own, which is why it keeps growing until you finally step in and clean house.
Troubleshooting Common NPM Cache Errors

Sometimes, simply trying to clear the npm cache can unearth deeper issues lurking in your setup. One of the most frequent roadblocks you'll encounter is a permission error, which usually screams at you with an EACCES code in the terminal. This is npm’s way of saying it doesn't have the write access it needs to manage its own files.
This problem often traces back to installing Node.js or global packages using sudo. The most effective long-term fix is to sidestep sudo for npm commands entirely. I highly recommend using a version manager like nvm (Node Version Manager). An nvm installation configures permissions correctly right out of the box, preventing these headaches before they start.
When the Cache Isn't the Real Culprit
Have you ever cleared your cache only to find your project still breaks with the same strange dependency errors? It happens more often than you'd think. The problem usually isn't the cache itself, but stale data hiding in plain sight.
Two other places are notorious for causing these phantom issues:
- The
node_modulesfolder: This is where the actual packages for your project live. - The
package-lock.jsonfile: This file is meant to lock down dependency versions, but it can sometimes hold onto outdated or conflicting information.
When you've tried everything else, it's time for the "scorched earth" approach. This command sequence is the go-to final resort for forcing a completely fresh start.
rm -rf node_modules package-lock.json && npm cache clean --force && npm install
This chain of commands is powerful. It first blows away your local
node_modulesdirectory andpackage-lock.jsonfile, then forces a cache clean, and finally reinstalls every dependency from the ground up based on yourpackage.json. It's the most reliable way I've found to kill stubborn conflicts.
It's worth noting that since npm 5, the cache has become incredibly resilient. It uses a self-healing mechanism with Subresource Integrity (SRI) that makes true data corruption a rare event. Still, community feedback suggests that in complex monorepos, cache-related issues can account for 15-20% of installation failures. You can find more discussions about npm cache reliability on dev.to.
For other advanced topics, you might find our guide on how to handle JavaScript file uploads useful.
NPM Cache Questions Answered
Let's dig into some of the most common questions that pop up when it's time to deal with the npm cache. Think of this as your go-to reference for managing your cache like a pro.
How Often Should I Clear My NPM Cache?
Honestly, there's no hard-and-fast rule. You don't need to put it on your calendar.
A good habit is to run npm cache verify every few months. It's great preventative maintenance that can catch corruption early without being destructive.
Save the more aggressive npm cache clean --force for when you're actually troubleshooting. It’s your go-to move when you're trying to free up disk space or you're stuck on a bizarre installation bug that even deleting node_modules couldn't fix.
Is It Safe to Manually Delete the Cache Folder?
Yep, it's generally safe to go into your npm cache directory and manually delete the _cacache folder. The end result is pretty much the same as running npm cache clean --force.
That said, using the official npm command is always the better practice. It's the method the tool's creators intended, which means it’s built to handle the process correctly without any weird side effects.
My Advice: While you can delete the folder by hand, just stick with
npm cache clean --force. It's cleaner, more reliable, and keeps your workflow consistent by using npm's own toolset.
Will Clearing the Cache Slow Down My Next Install?
It sure will. The very next npm install you run in any project will feel noticeably slower.
This happens because npm now has to fetch every single package directly from the online registry again, since its local stockpile is empty. But don't worry—this performance hit is a one-time thing. Once that first install completes, your cache will be repopulated, and future installs will be back to their usual snappy speed.
Does Clearing the Cache Affect Global Packages?
Nope, not at all. Wiping the cache doesn't touch your globally installed packages.
The cache is just a holding area for the compressed package files (tarballs) that npm downloads. Your global packages, like nodemon or create-react-app, live in a completely different directory and will remain fully functional after you clear the cache.
Publishing your next project shouldn't be a hassle. Hostmora is the #1 easiest web publishing tool that turns your files into live websites in seconds. Go from idea to live URL with a zero-config, drag-and-drop workflow. Start for free at https://hostmora.com.